 |
| Micawber |
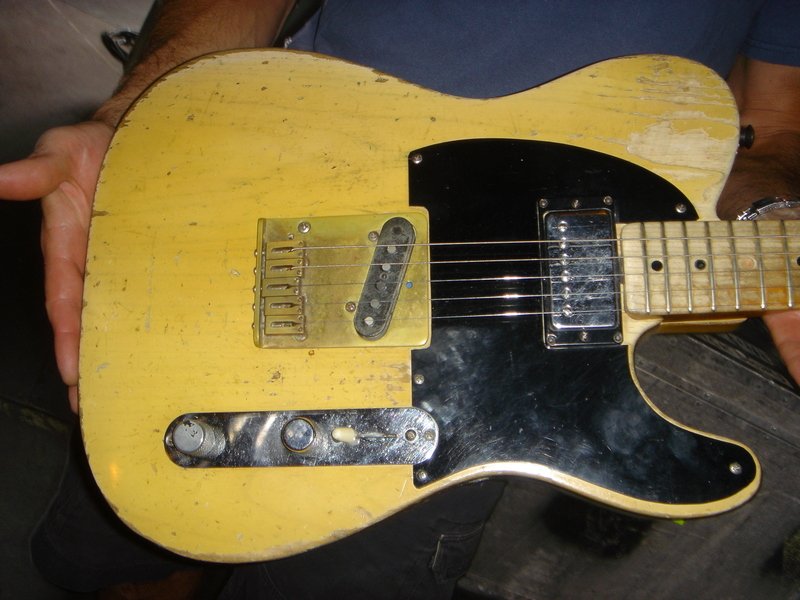
But I happen to be a Rolling Stones fan. Not a fanatic, but a fan. And as a guitar player, somewhat fascinated by Keith Richard's collection of guitars, not the least of which are his modified Telecasters. Many have names and the most famous is probably Micawber, a '53 blond Tele with a Gibson "PAF" humbucker at the neck and what is said to be a lap steel single coil in the bridge. It's further modified with a modern 6 saddle solid brass bridge, with the 6th string saddle removed to facilitate Keith's open G tuning. It is almost certainly wired "Broadcaster" style, a topic for another post (along with string gauges, capacitor selection, etc.)
Anyway...
So it wasn't long before I ordered a new pick guard and a Seymour Duncan '59 SH-1n pickup in a effort to reproduce the Micawber magic. It actually sounded pretty cool with that pickup and no other changes, though it did get muddy real fast if you backed down the tone control a little.
The obvious next step was a better bridge pickup. And it doesn't take long browsing the Tele discussion boards until you come to Don Mare. He makes his pickups to order and it might take as long as a month to get one. About a year ago I finally ordered one of his "Keefer" pickups, got it, and set it aside, meaning to install it "real soon".
One year later...
 |
| Ready for surgery |
Okay then... First step, take off the strings. No big deal. You can see each saddle has it's own position. They have to come off so we can get at the 4 screws that hold the bridge plate in place.
 |
| Saddle Locations Marked |
 |
| Note "dog ear" and location of the ground lug. |
 |
| Control Plate w/ saddles in the background |
Now for the control plate. Two more screws go to the blue tape and we're ready to un-solder the bridge pickup "hot" wire. That's the white wire in the middle leading down to the control cavity. Using the original pickup as a guide, I cut the leads to on the Keefer to match and...
As they say in the automotive manuals "Assembly is the Reverse of Disassembly".
There are a few tricky bits however. You'll notice that the pickup route has a little dog-ear at the lower right. That corresponds to the pickup screw where you'll remount the ground lug. You'll also want to tuck the pickup wires in as close to the pickup itself as possible - it's sort of a tight fit.
So, how does it sound? Darn good. The Don Mare "Keefer" is a good deal hotter than the original pickup and free of the infamous Telecaster "icepick" tone even with the tone control wide open.
No comments:
Post a Comment